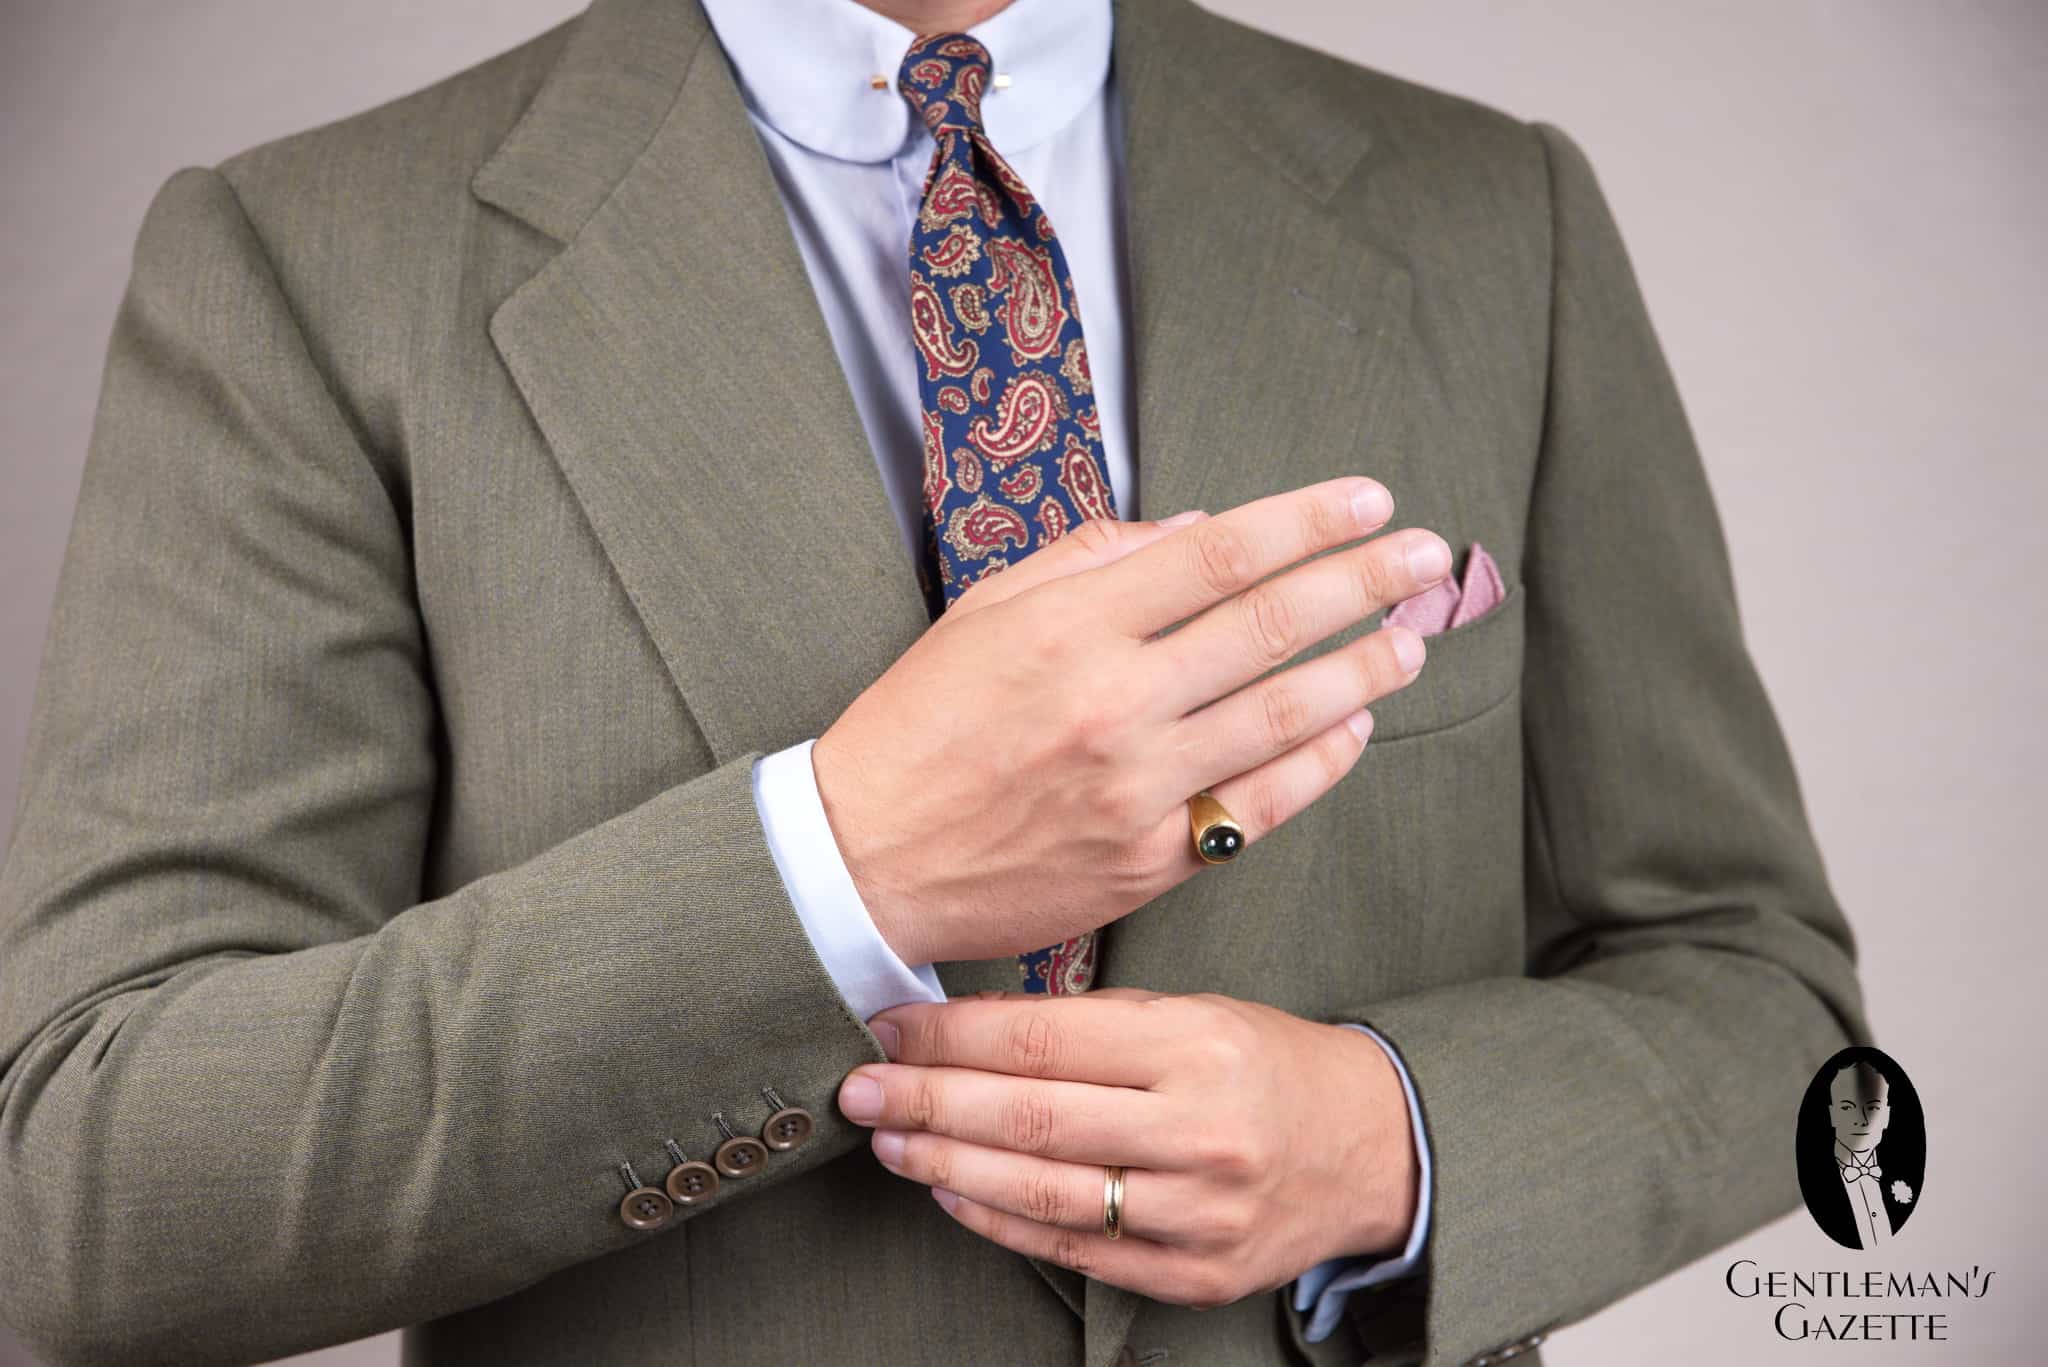
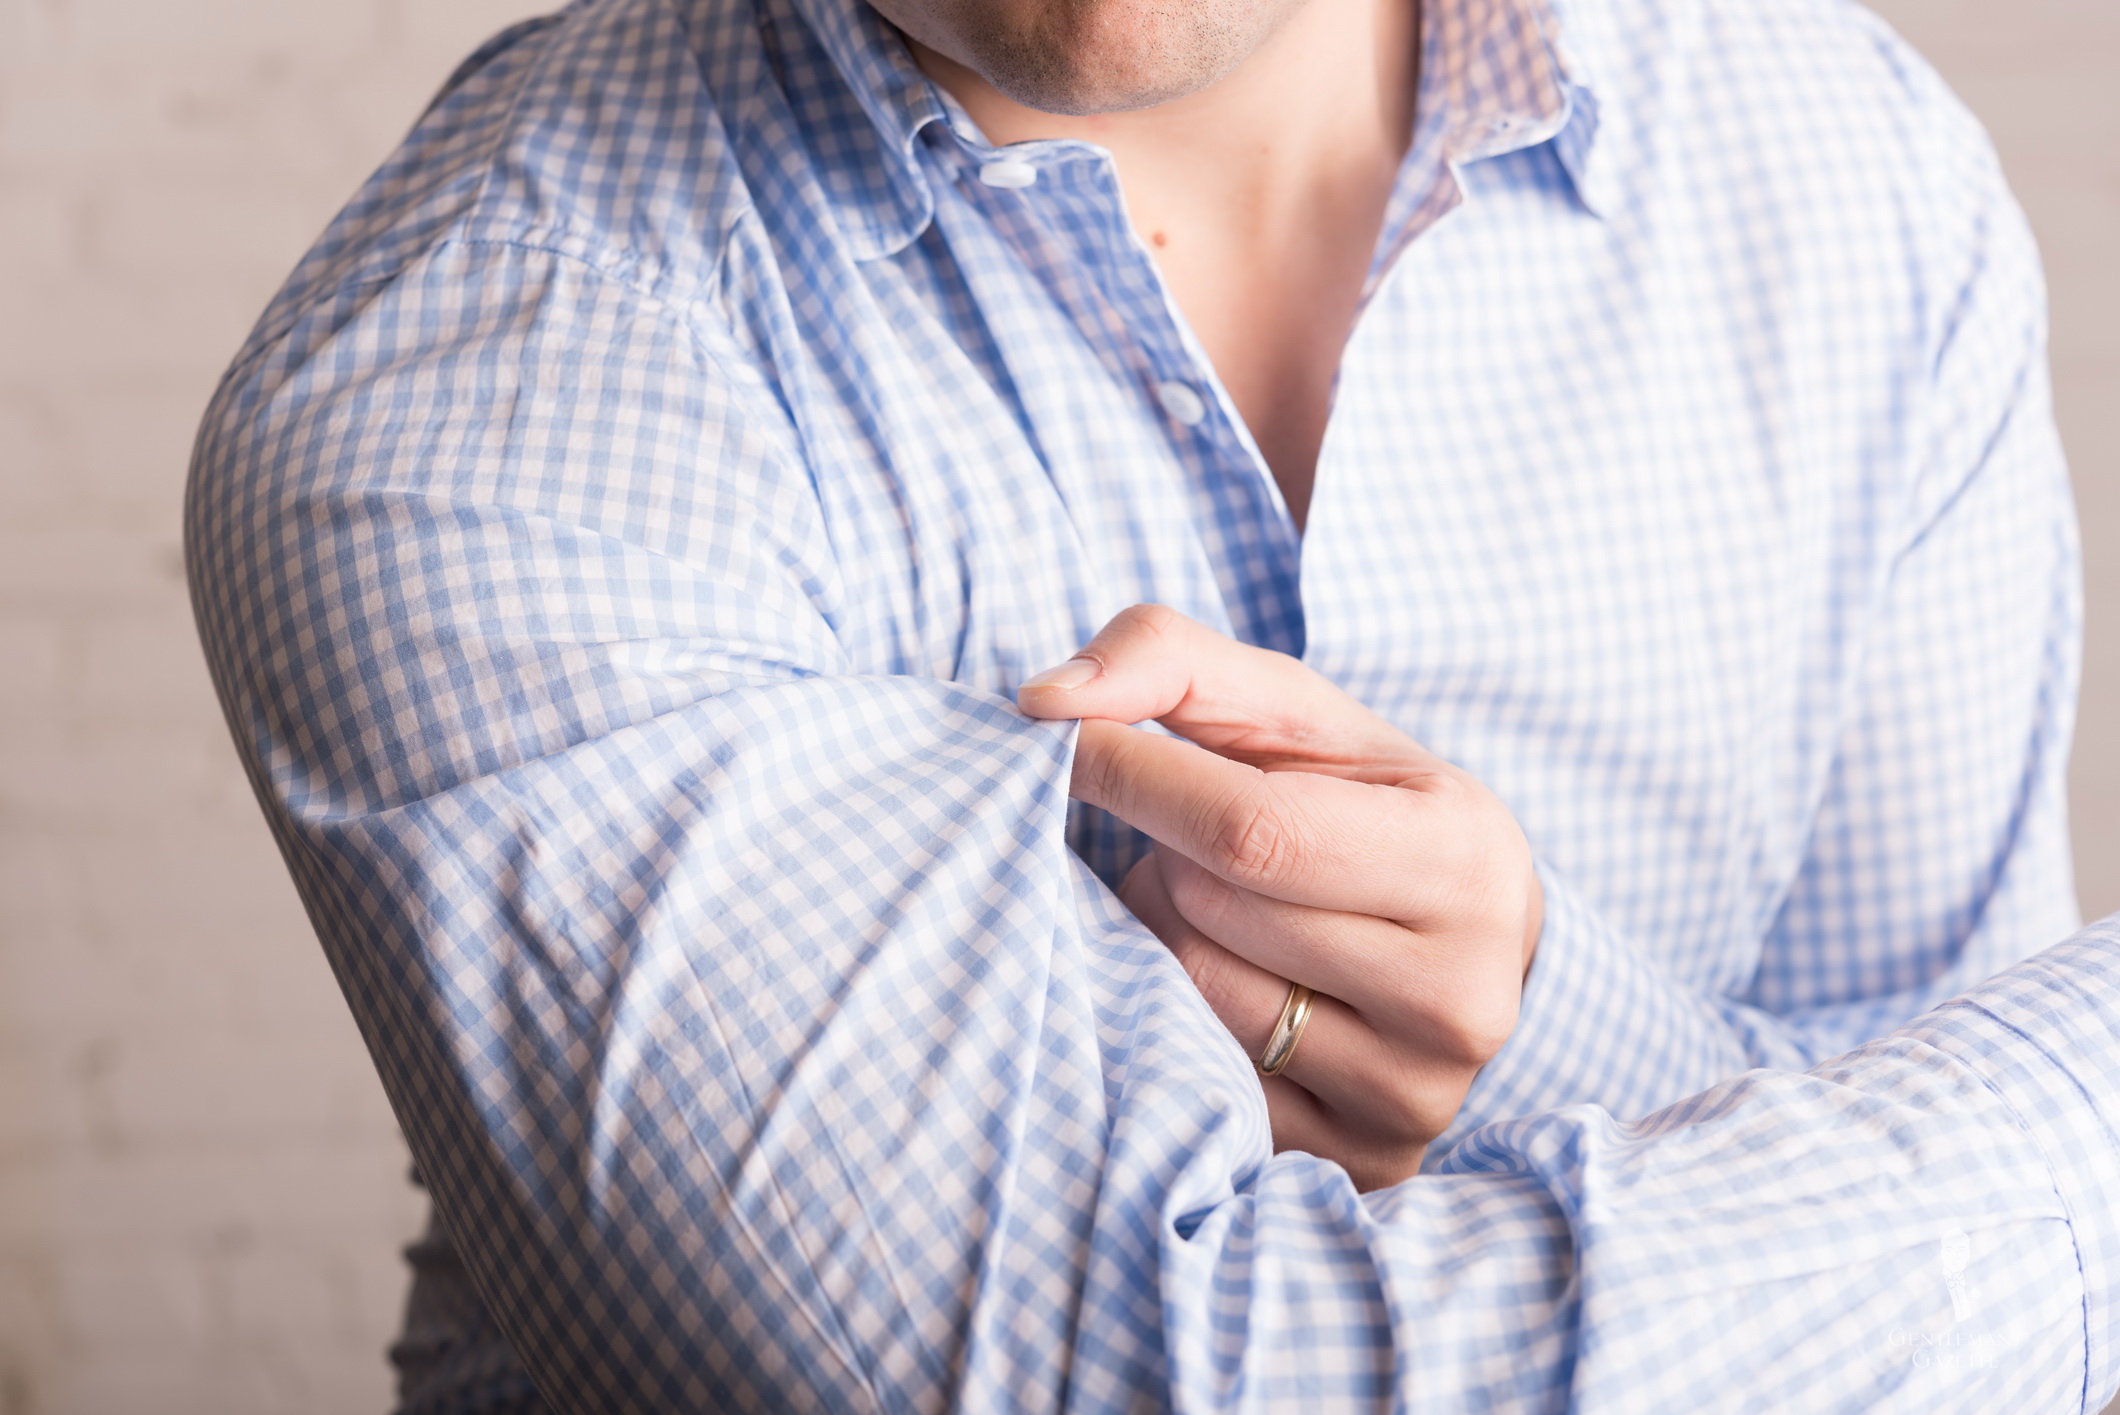
The amount of cuff Sven Raphael Schneider like to show
Those who appreciate classic tailoring take considerable time and care when selecting the clothes they buy and wear. A similar level of dedication is needed to maintain and protect your investment. Knowing how to iron your dress shirts, trousers, and tailored jackets is a useful skill to keep you looking sharp; on the other hand, ironing incorrectly can ruin your clothes. In the first of our three-part series, we talk about the preparations and equipment you need for successful ironing and explain the process of ironing a dress shirt.
Why Iron Your Own Tailored Clothes?
If you live in or near a major city, and even in many smaller towns, you can probably find a tailor, dry cleaner or laundry that offers a clothes pressing service. They will almost certainly have professional equipment like commercial-grade irons, a vacuum table, and a self-inflating, steam-generating dummy to make quick work of your wrinkled garments. So, why should you bother to do it yourself?
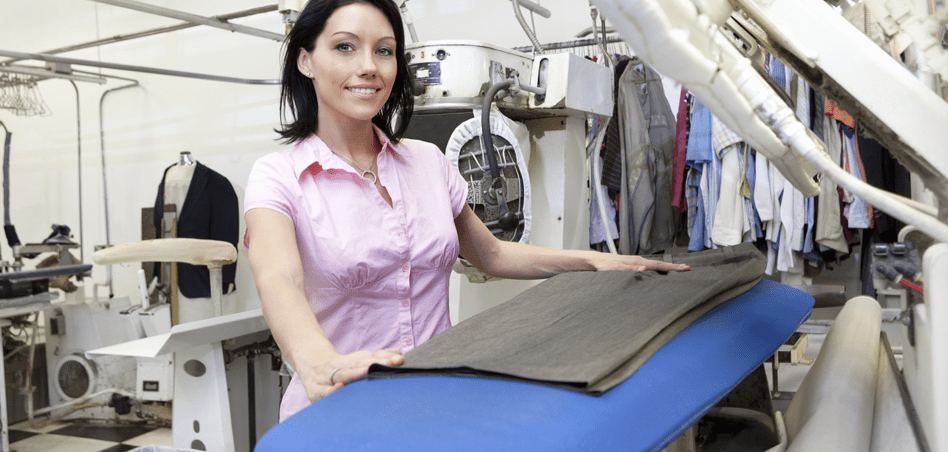
dry cleaner ironing
1. It Can Be Tricky to Find a Reliable Service
One reason is trust. You first need to be assured that the service has experience handling expensive fine tailoring and the skill to make them look their best. Have they pressed suits before, or will they flatten out your lapels and shine up the wool? Horror stories of such damage are not exactly rare on Styleforum. Your chances may be better in the UK, where there is a higher concentration of long-established professional ironing services.
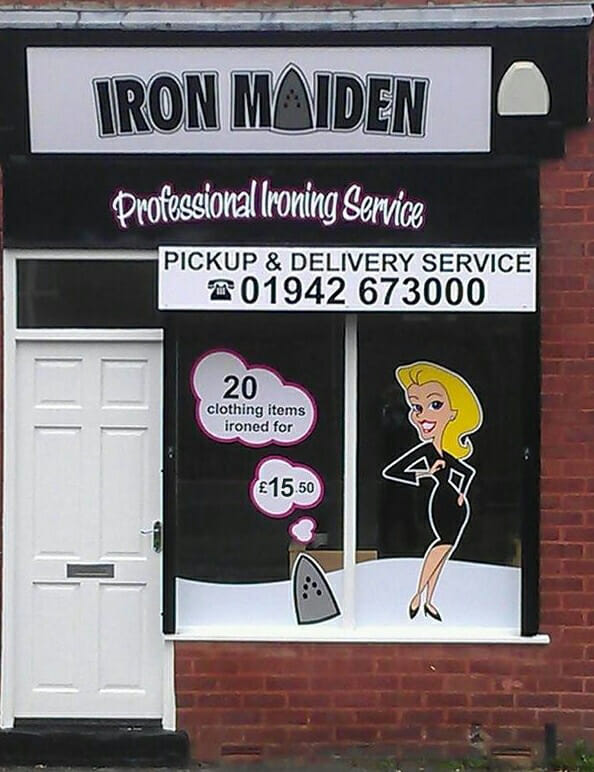
Iron Maiden is one of a number of professional pressers in the UK.
2. It’s More Convenient and Saves Cash
Another reason is cost in time and money. Depending on the size of your wardrobe (and your wallet) and how often you need to remove wrinkles, professional pressing can add up. It also requires you to spend time dropping off and picking up your items.
3. Quality
If you invest $200+ in dress shirts, you want them to last and not be damaged by improper washing and ironing. Unless you have a professional available who irons your shirts by hand and treats your shirts with care, you are better off ironing yourself because you will get a better quality result and your shirts will last longer. Alternatively, you can hire maybe a house cleaner who is willing and able to also iron your shirts.
4. Personal Satisfaction
Lastly, there is the simple satisfaction of being self-reliant. When you press your clothes and end up with a crisp white shirt and a sharp trouser crease, you feel a sense of pride and accomplishment that you literally carry with you when you wear them. Readers with a military background who had to keep their dress uniforms well pressed will know the feeling. Even if you do send your clothes for professional ironing occasionally, possessing the knowledge of how to do it yourself is invaluable.
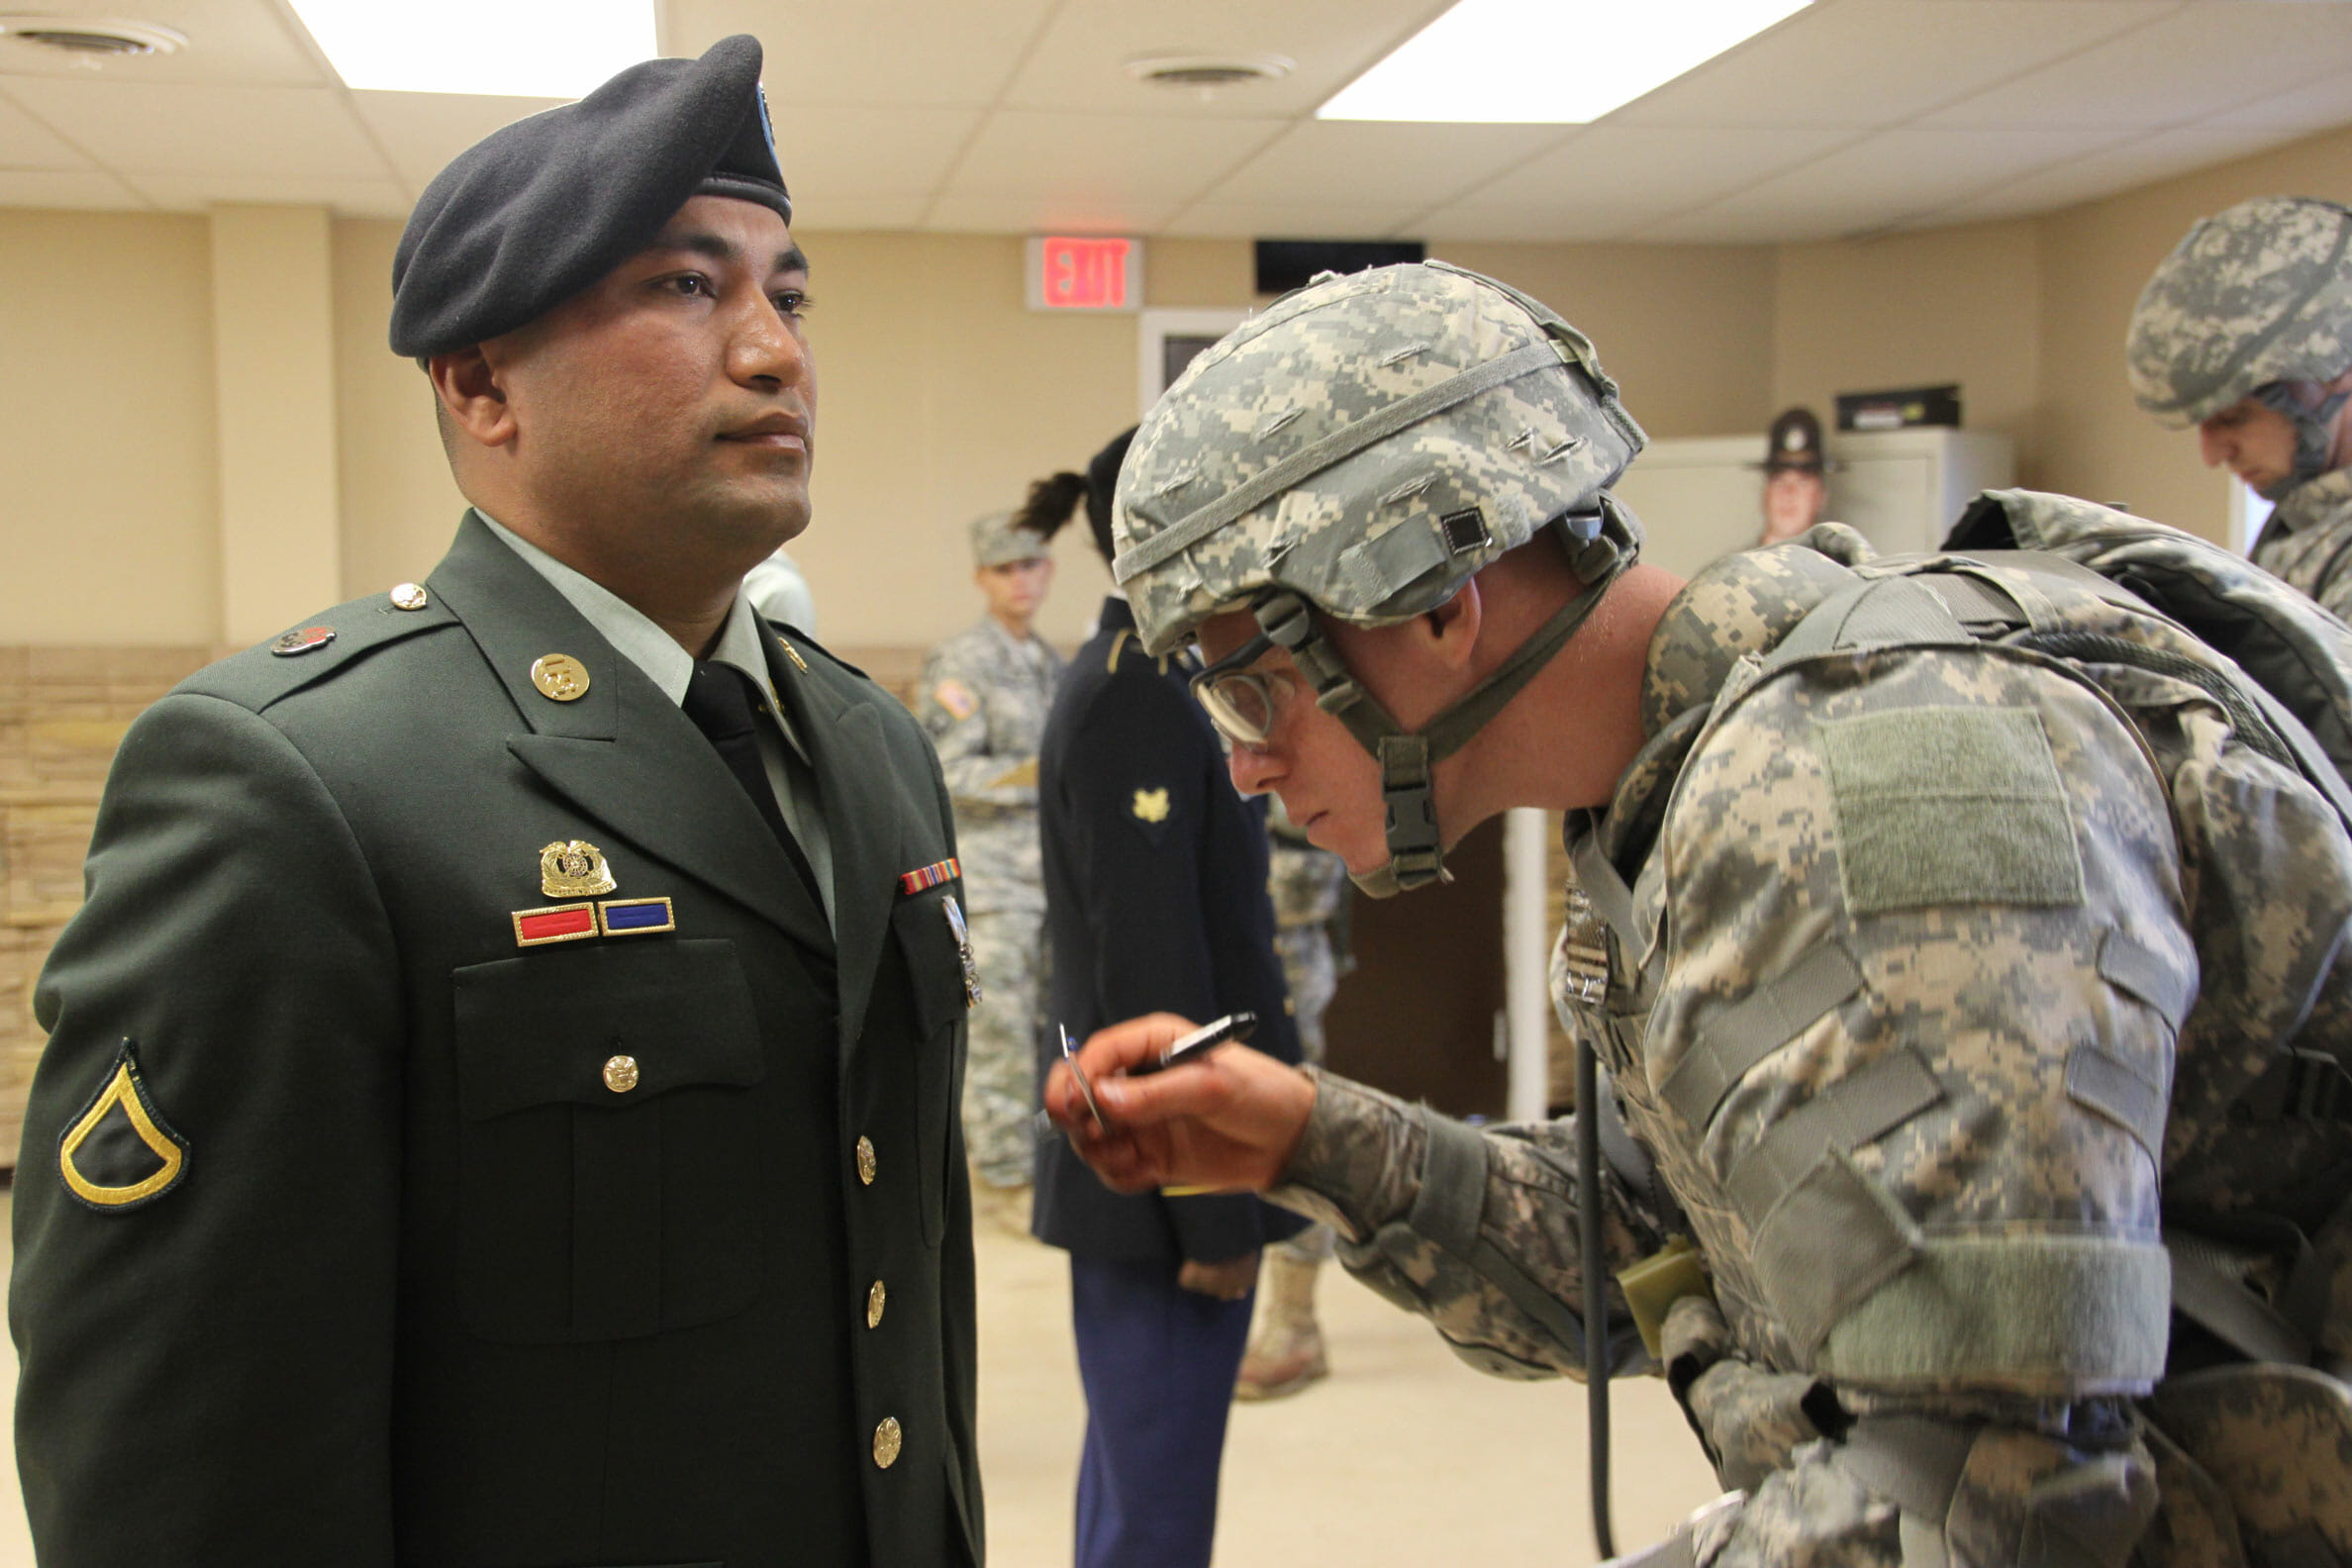
In the military, properly ironed dress uniforms are a matter of pride.
Preparing to Iron: Getting the Right Equipment
Like any maintenance task, from shaving to detailing your car, successful ironing requires some gear. If you’re the sort of person who collects specialty tools, athletic equipment, or kitchen utensils, you may be up for some ironing equipment too. Detailed below are some items for your ironing setup from the basic necessities to those you might consider for a more sophisticated arrangement.
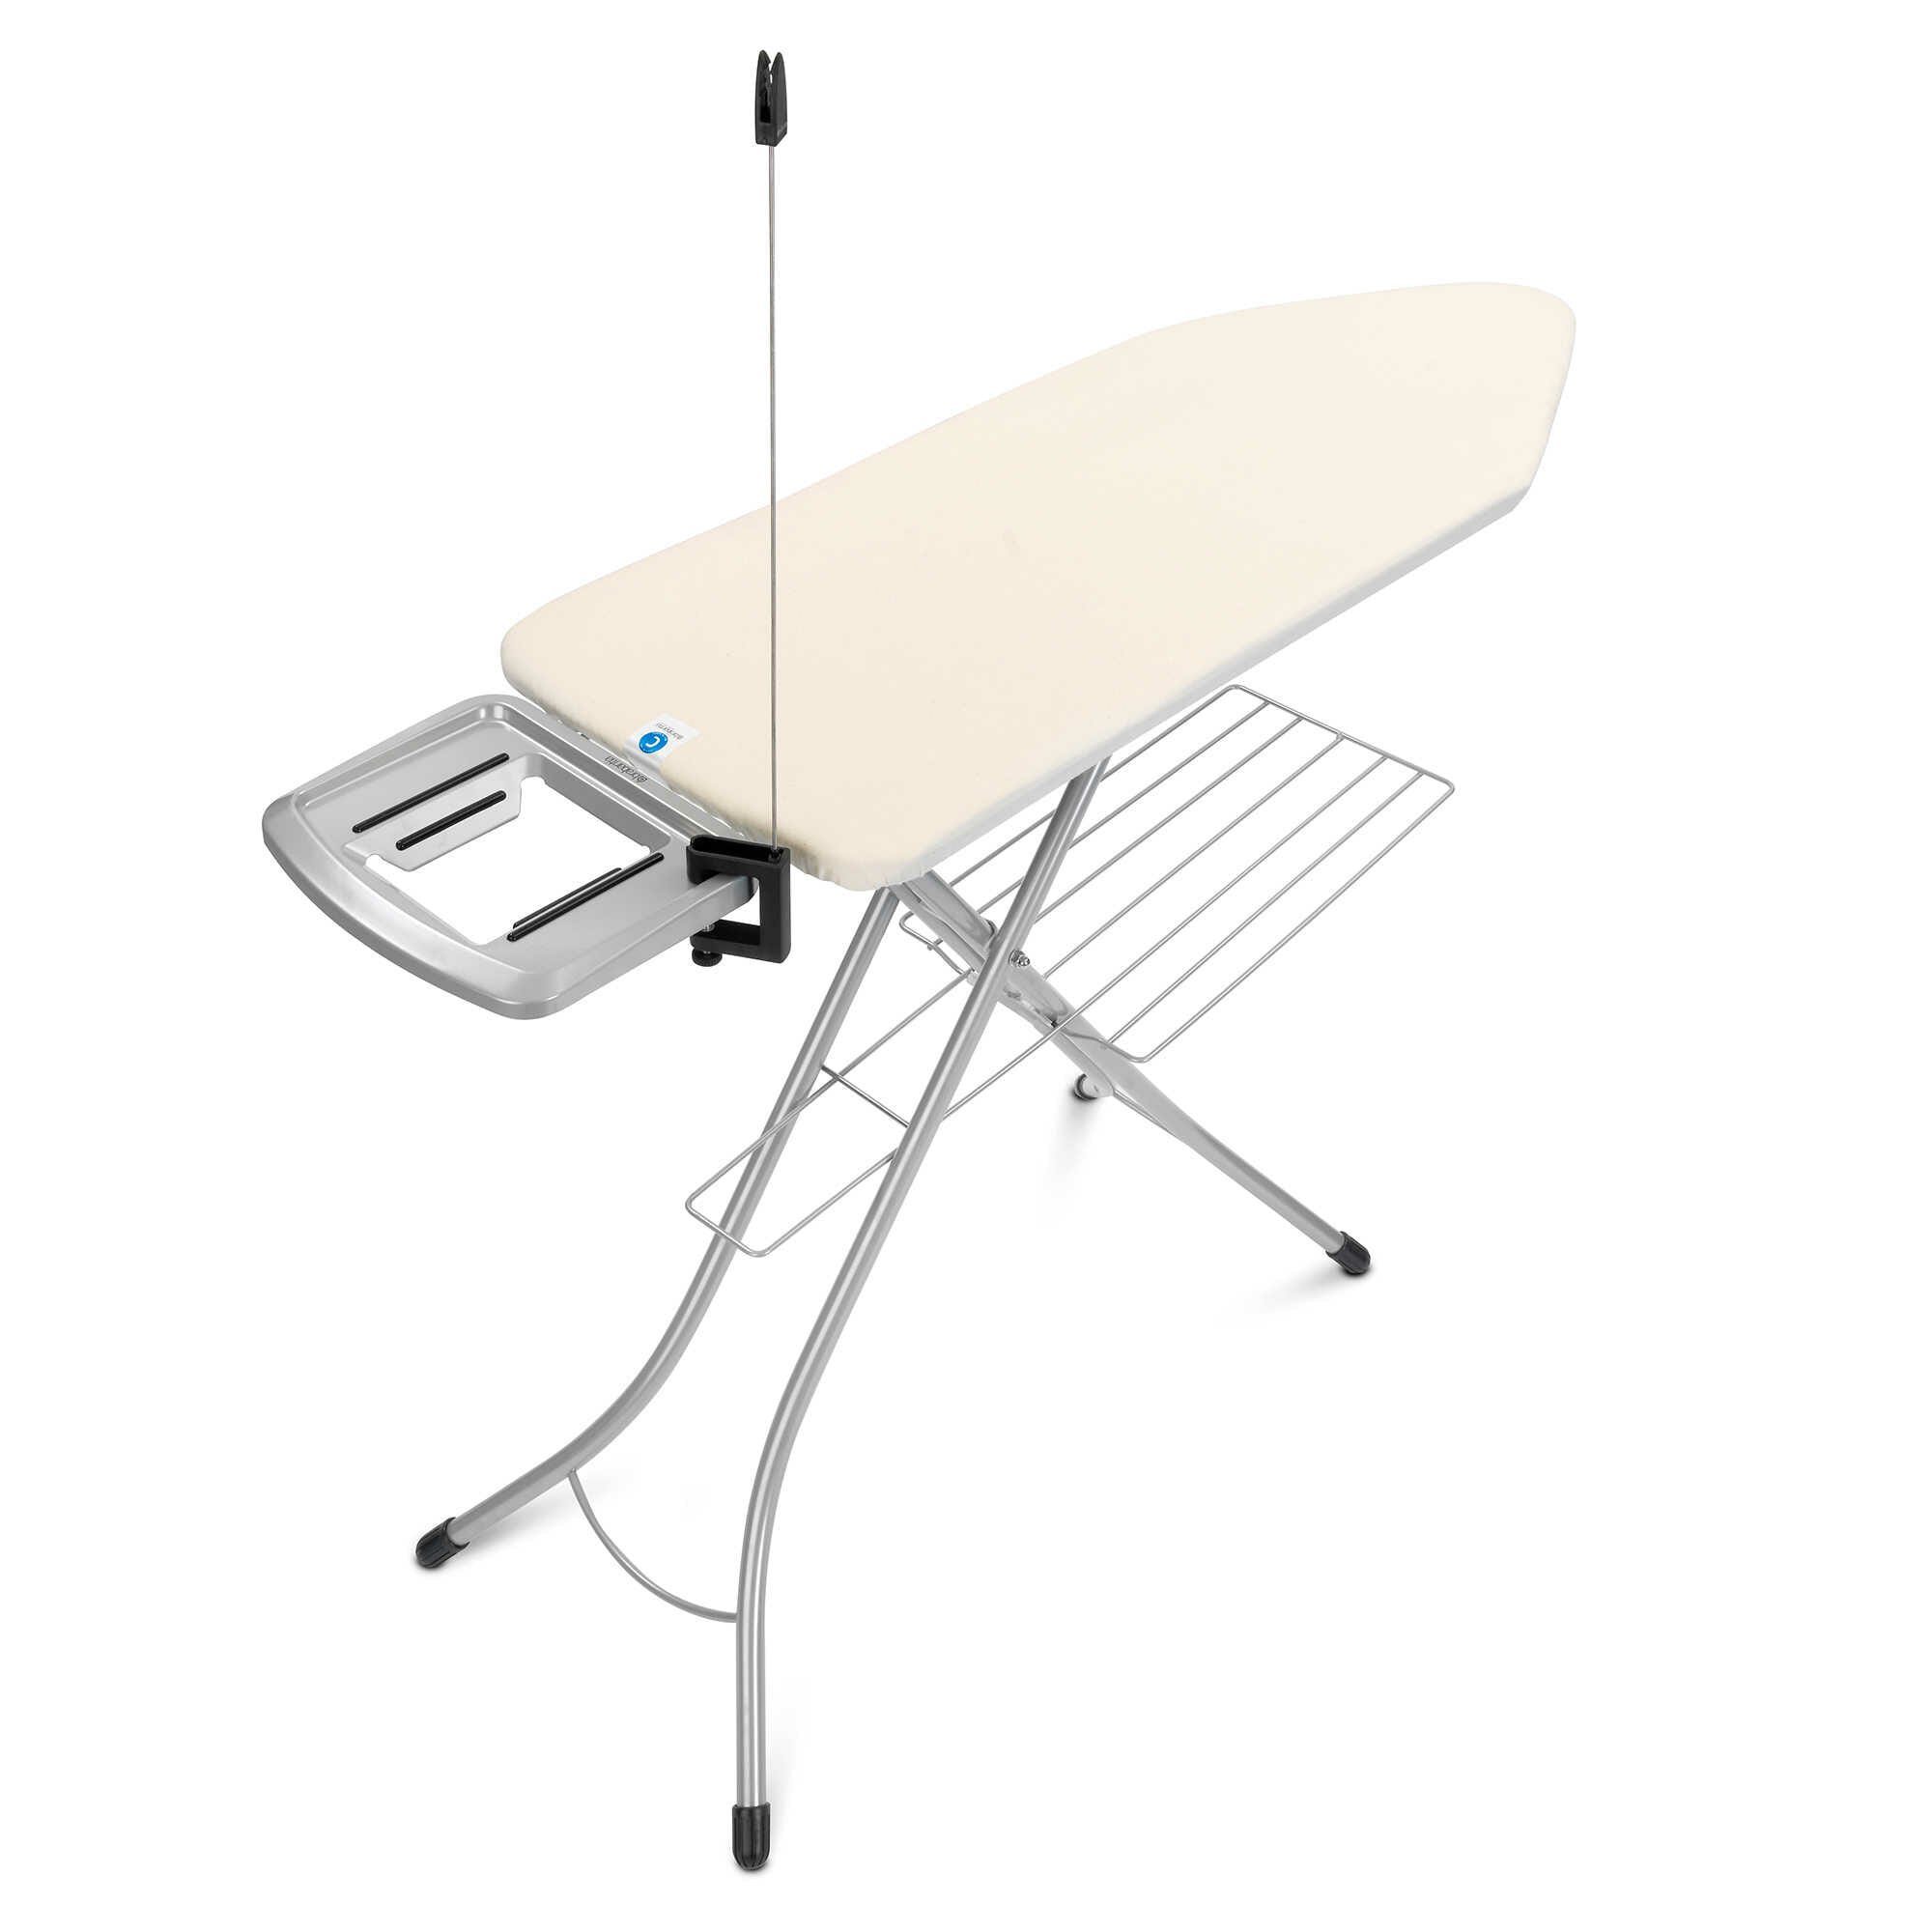
1. The Best Sturdy Ironing Board You Can Afford
Though an ironing board seems to be just a board, it will be your primary work surface, where all the action takes place. And, as with most things in life, including clothes, it’s worth investing in higher-quality, more expensive items that will last longer and yield better results rather than getting a cheap alternative that will ultimately disappoint. Your ironing board needs to be long enough to lay flat a pair of pants or a shirt sleeve fully extended and wide enough to spread out one side of a jacket or shirt. A free-standing model about 18″ wide by 48″ long would be a good choice and costs anywhere from around $40 to over $100. A good option in this range is made by Brabantia.
Some come with an iron rest, cord manager and racks to place finished ironing, though you may find you don’t use these and simply stand the iron up on the board. The padded cover for the board should be sufficiently padded to give you a smooth, uniform surface; you shouldn’t be able to feel the material of the board through it. The pad shouldn’t shift or come off easily either. Lastly, the metal underside of the board should be perforated to allow steam and moisture to escape easily through the padding.
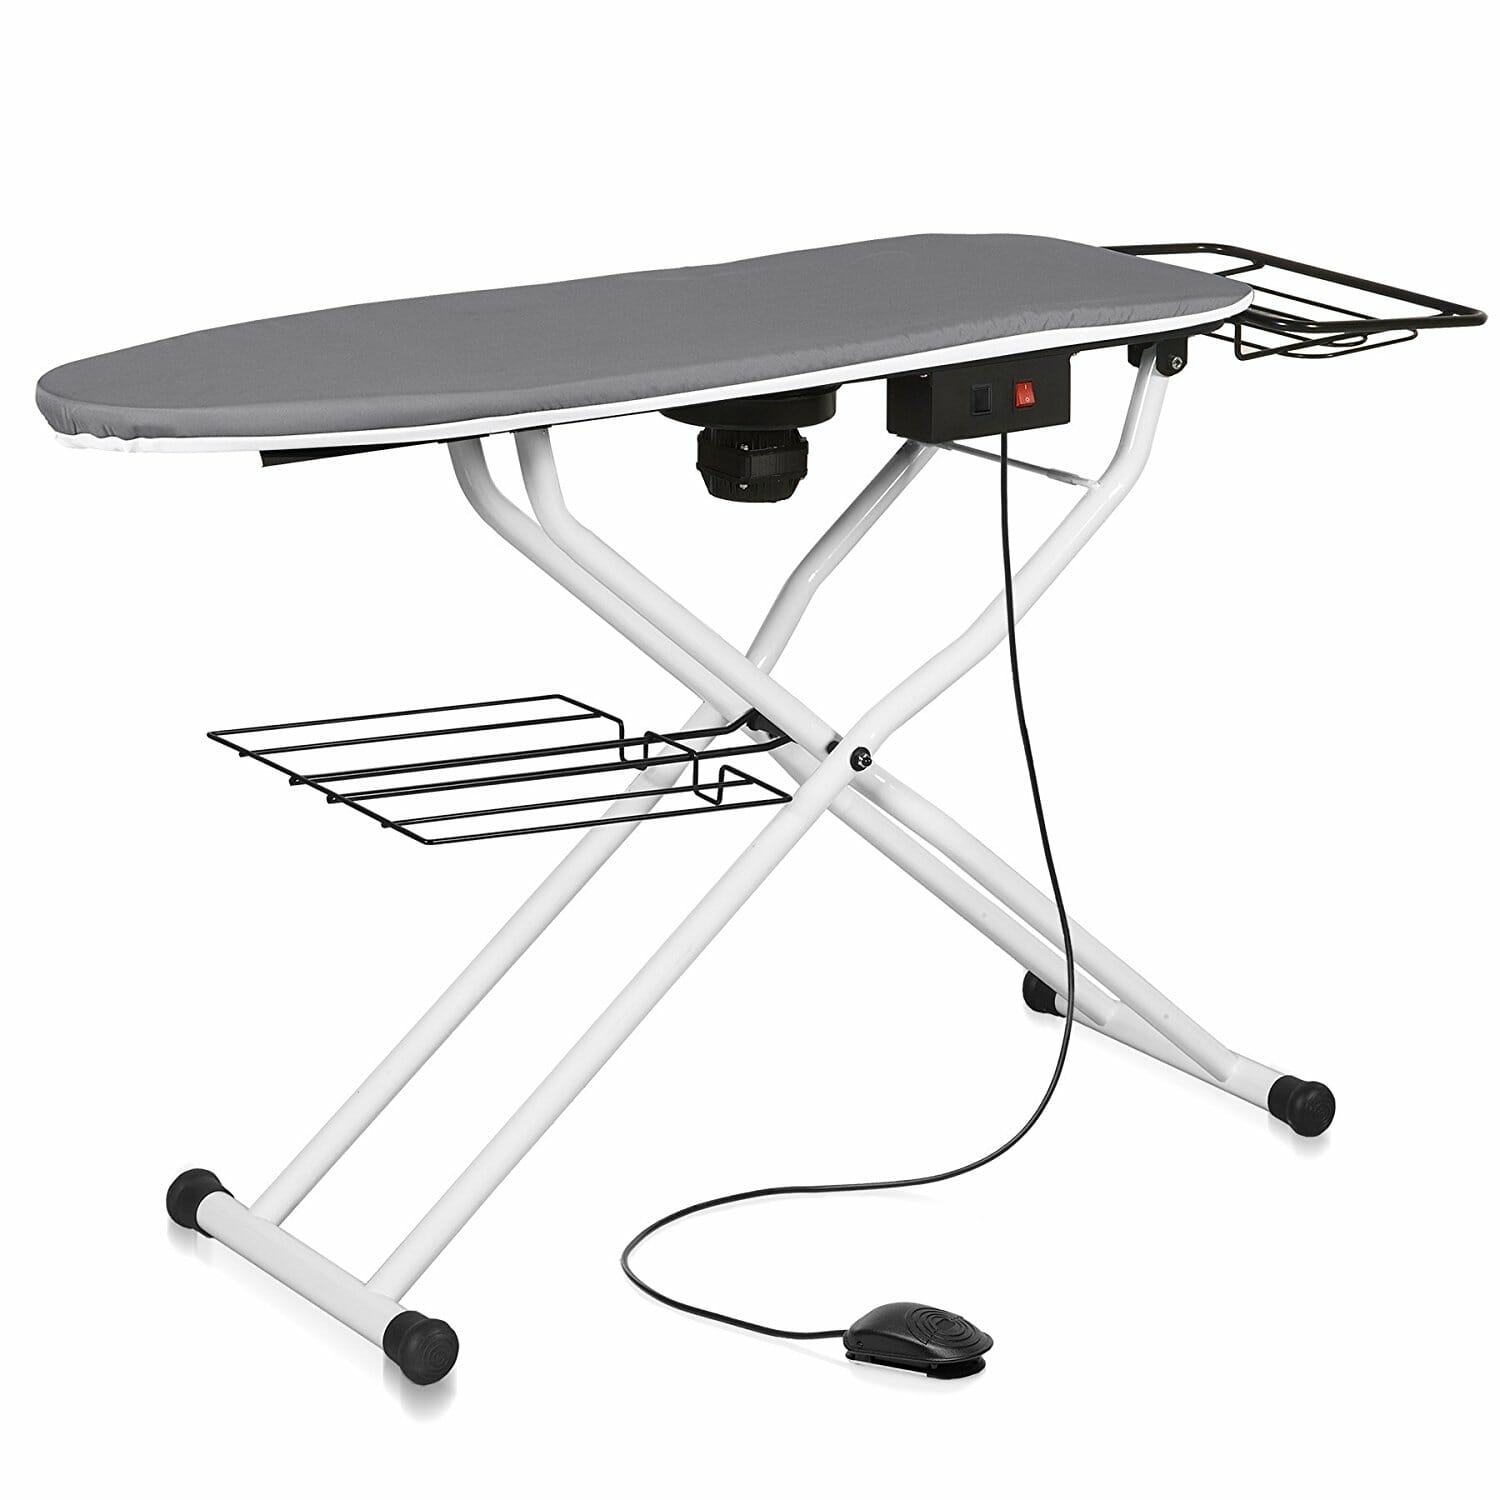
Professional Vacuum Ironing Boards Are Best
If you can afford it, a professional grade ironing board with a vacuum engine should actually be number one on your list of requirements.
Essentially, these provide vacuum suction at the touch of a switch or foot pedal. When you place an article of clothing on the board, the vacuum grabs it firmly and evenly to the surface, eliminating the possibility of dragging and further wrinkling as you move your iron on the fabric. The suction also draws the moisture from your steam iron down and out of your clothes as you press them. This will release all the wrinkles, but you do not need to wait until your shirt is dry. The result is a shirt that is pressed better, in less time than you would need on a conventional ironing board.
Vacuum boards are, honestly, the secret to professional-looking results. They do cost more, but once you have an ironing board with a vacuum pump, you never go back because it is superior in every way. In fact, the result of a cheap iron with a vacuum board will still be better than a higher-end iron with a conventional board. The true perfectionist or dandy should ultimately budget for replacing a traditional ironing board with one that contains a vacuum. Sven Raphael Schneider has been using this professional grade vacuum board for years.
2. The Best Iron You Can Afford
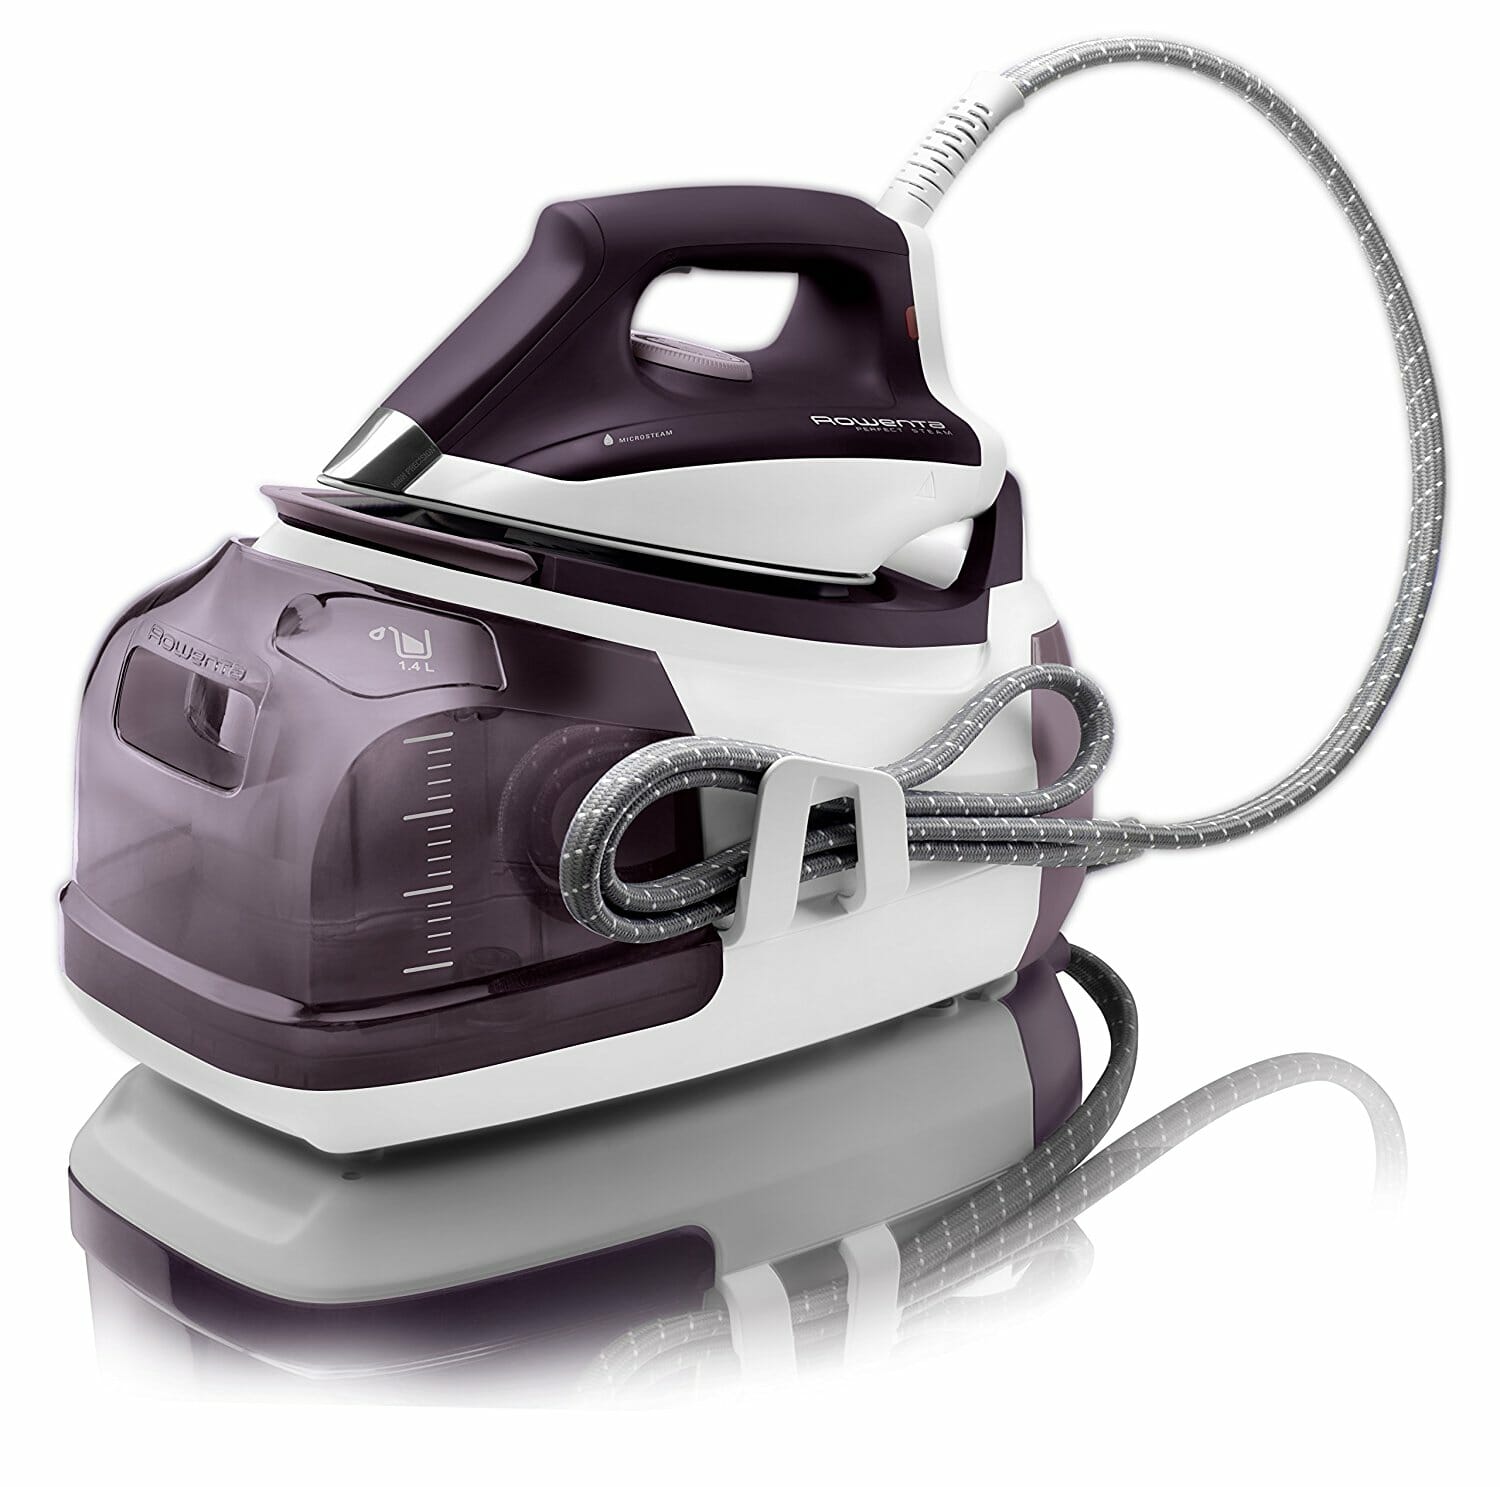
Like boards, irons themselves come in a range of prices (again from $40 to several hundred dollars) with various options. The underside or sole plates of better irons are either ceramic coated or stainless steel, and both are fairly interchangeable in terms of how well they glide over fabric (though, as we will discuss later, you won’t be doing that much gliding). The most important factors for choosing an iron are then its weight and the number of steam holes. If you’re looking to start with a basic iron, a Sunbeam with a convenient retractable cord is a good budget option for around $30. In the mid-range ($60), this Rowenta model has great reviews.
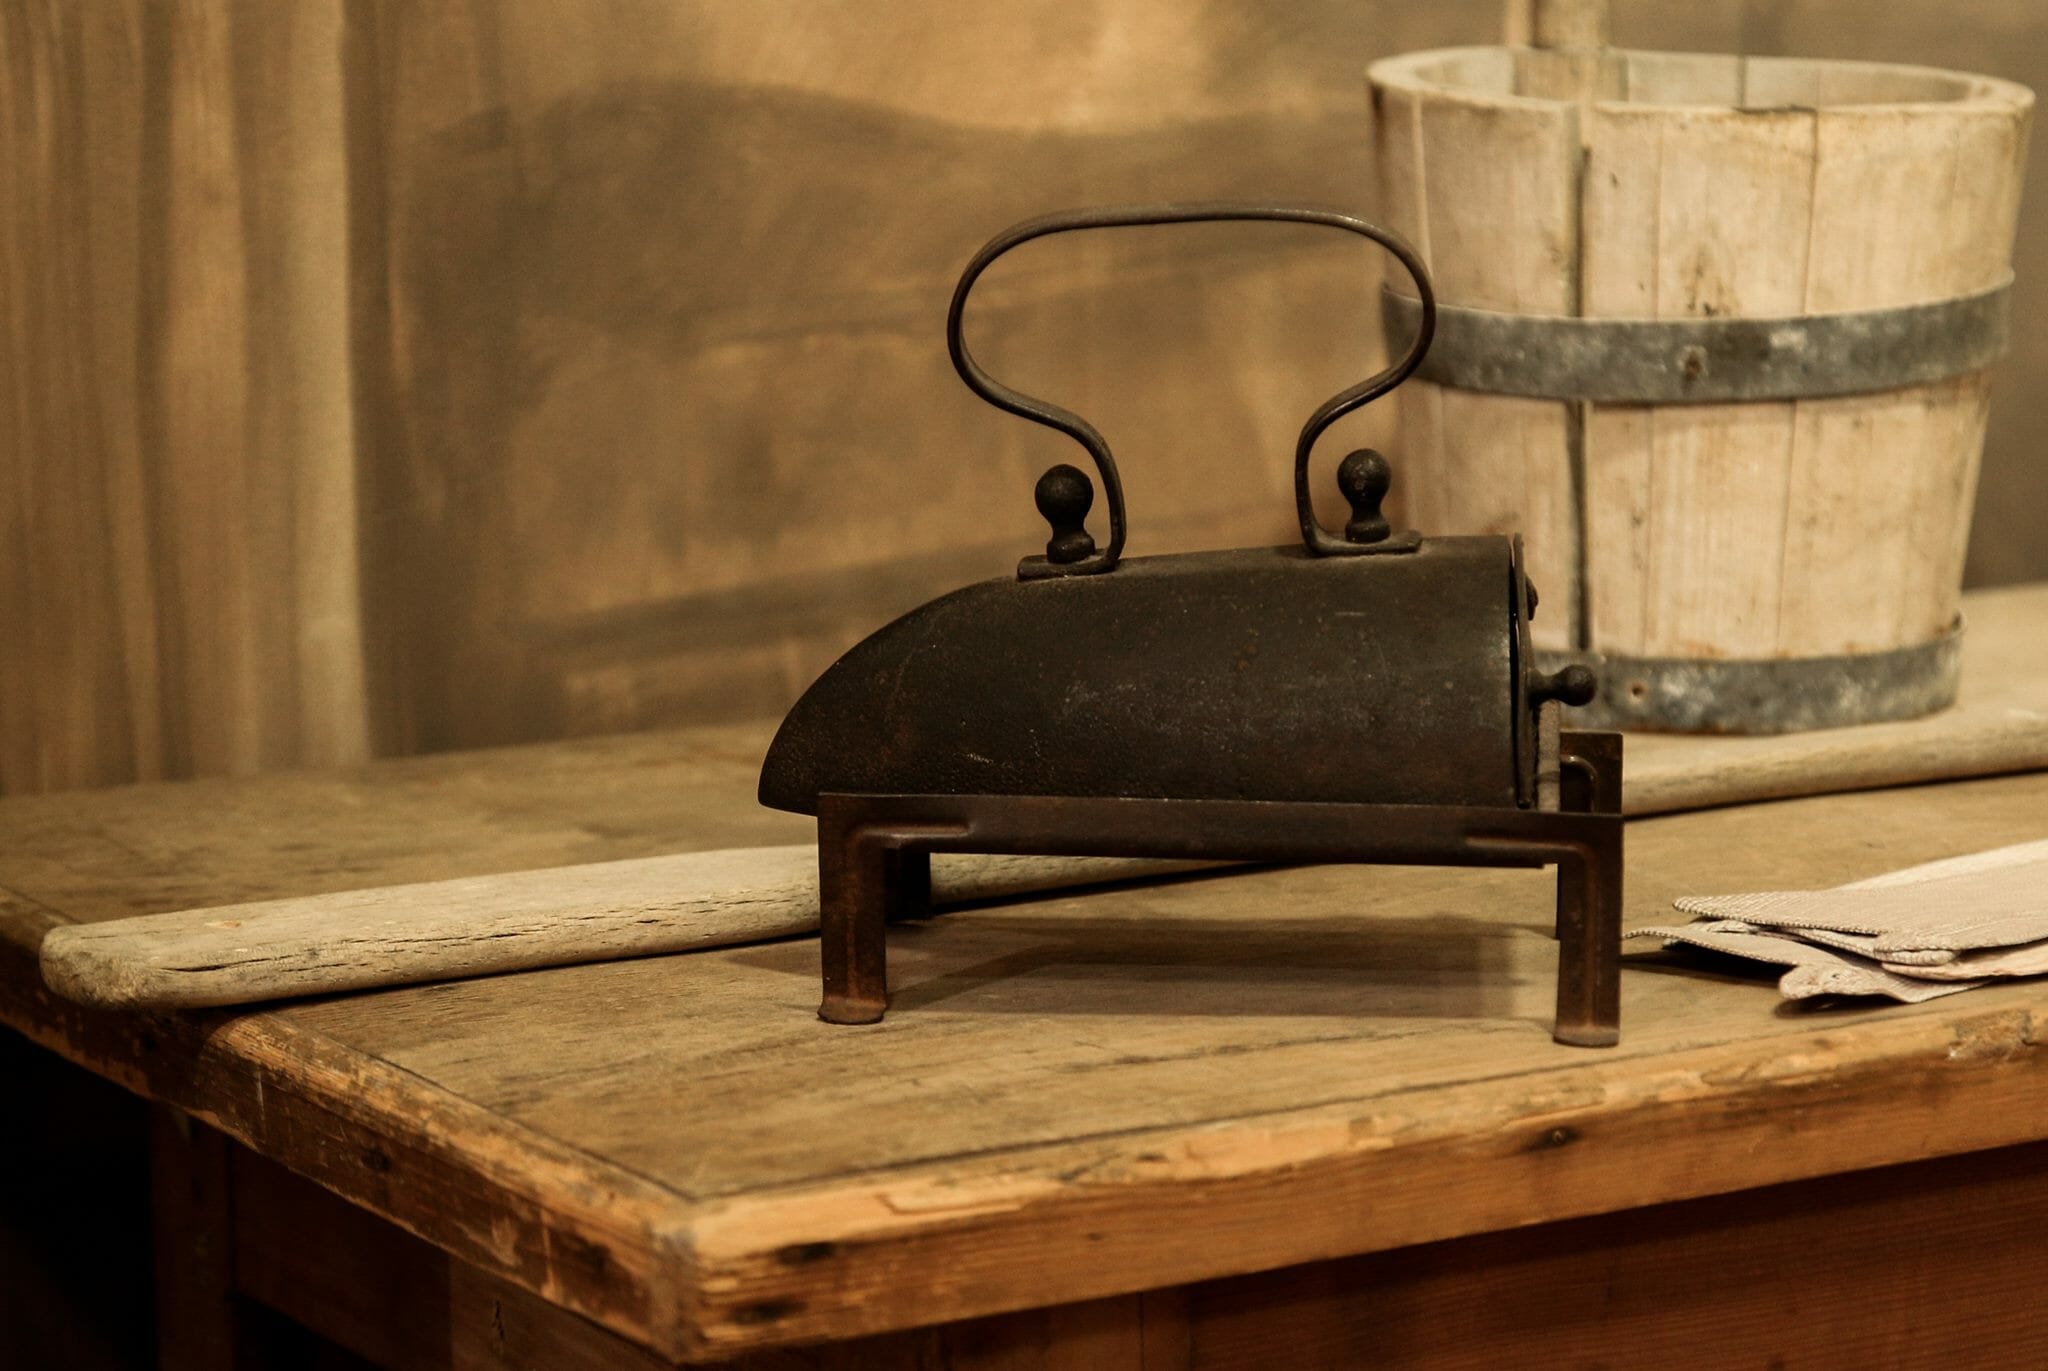
Online ratings may promote lightness as a selling point, but weight is important for pressing. The heaviest iron you can handle reasonably will be an advantage when pressing a sharp crease into trouser legs, and professional pressers often express nostalgia for hefty antique models that were actually made of iron.
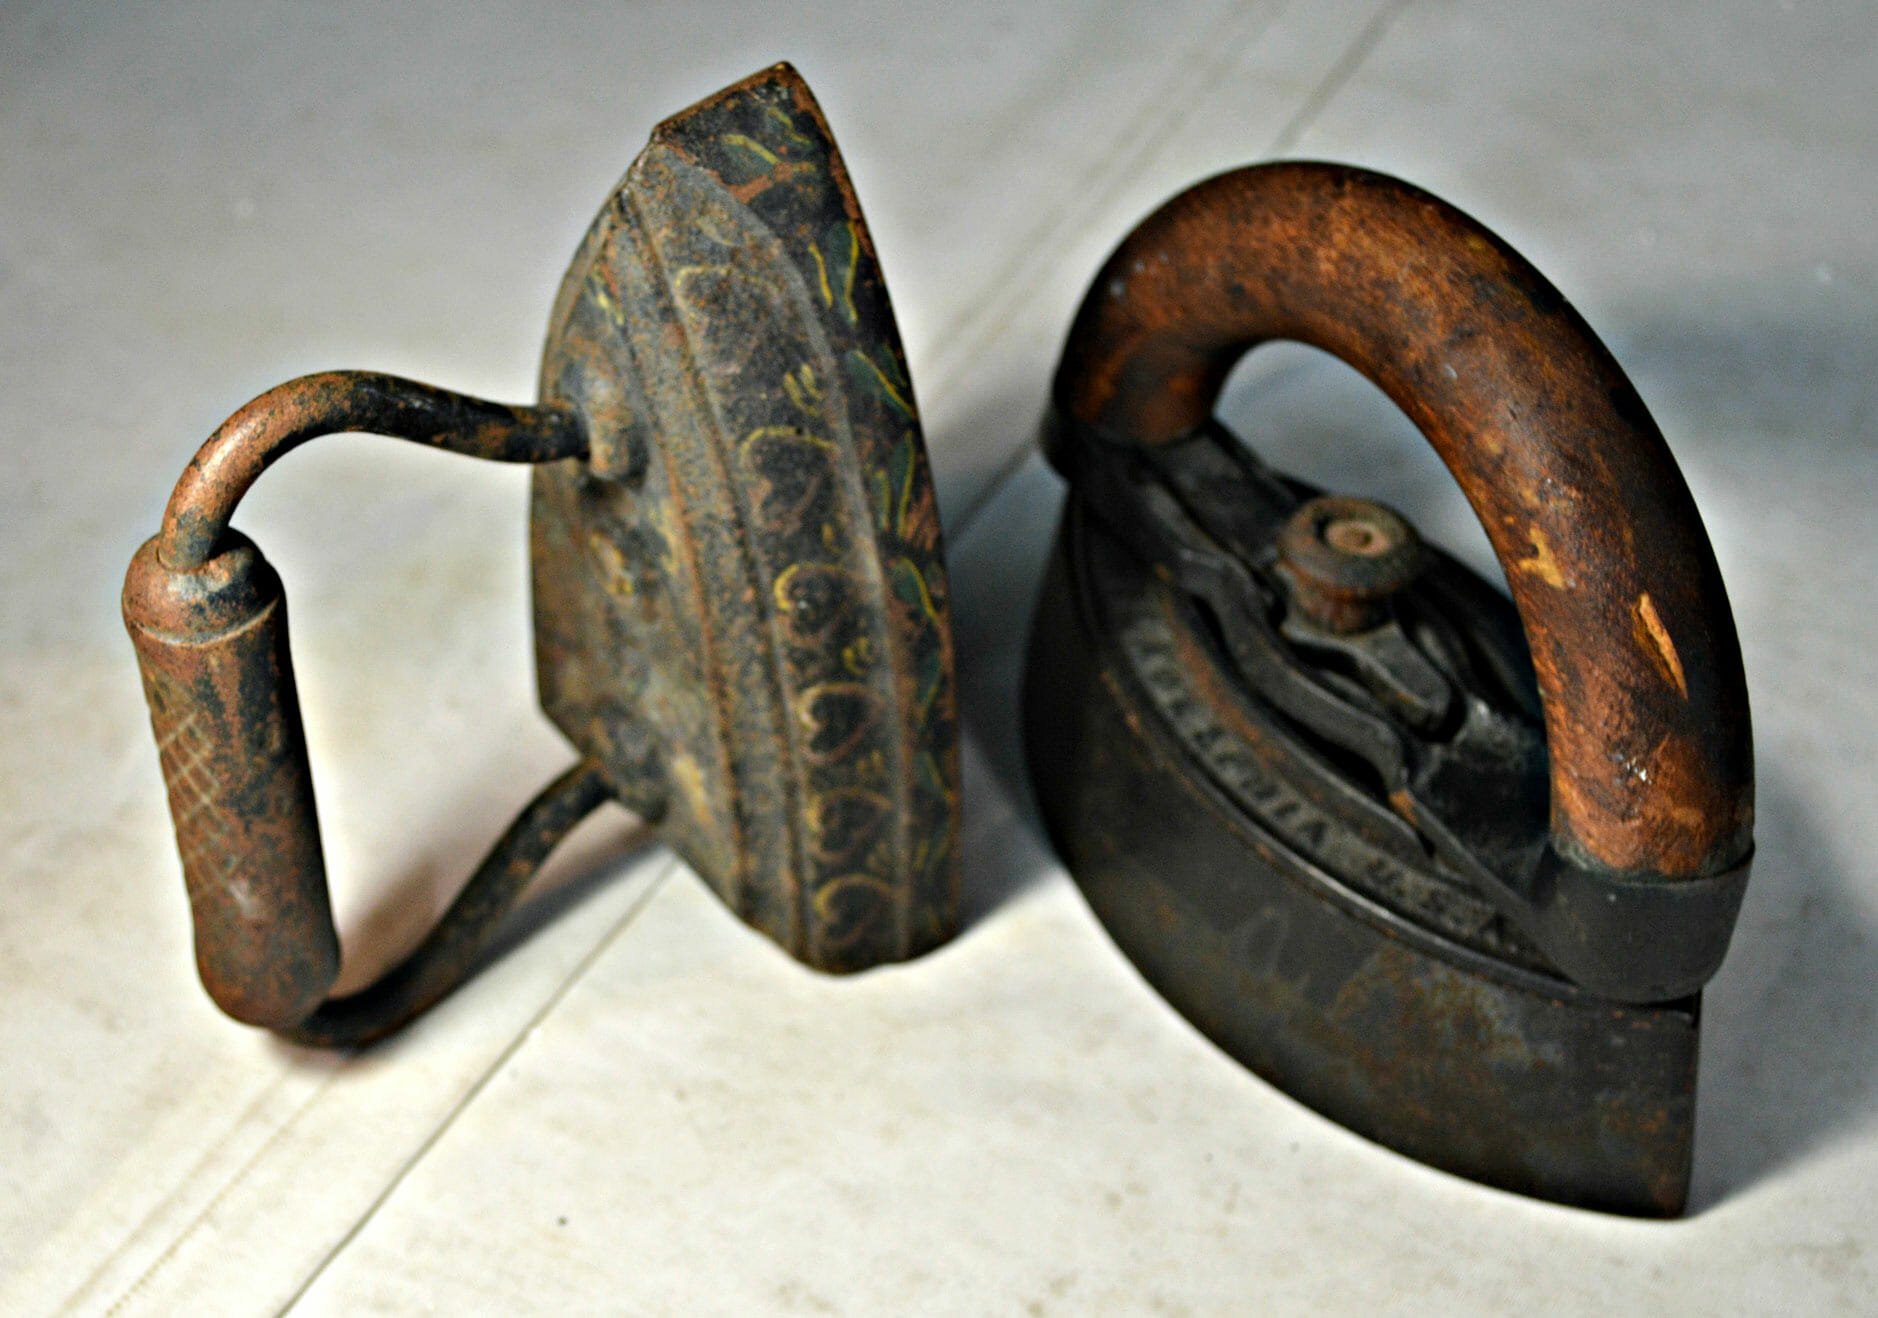
Vintage irons are known for their weight.
The second key feature is how well the iron delivers steam. Higher pressure and a large number of steam holes in the sole plate will help remove wrinkles quickly from a hanging suit jacket. Other than these attributes, there aren’t particular advantages to more expensive irons except, perhaps, the presence of a larger attached water reservoir, often called a “steam station,” which can be seen in higher-end Rowenta irons like this one (under $300), which boasts 400 steam holes.
3. Distilled Water and a Way to Deliver it
You can use tap water to fill your iron, but, for reasons we’ll talk about below, it’s better to use pure, distilled water instead. You can buy a gallon for around $1 at any grocery store. In addition to steam, you’ll sometimes want to spray the surfaces of your clothes to press out wrinkles. Your iron will already have a spray function, but this only puts water directly in front of the iron and doesn’t allow you to get good coverage anywhere you want. Opt for a spray bottle instead and set it to mist. Some professionals actually use a 2-3″ paintbrush and a bowl of water, especially when moistening wool.
4. A Pressing Cloth
To avoid creating unsightly shine or glossing on dark wool garments, it’s important to own a pressing cloth, homemade or otherwise. You simply press through the cloth rather than applying the iron directly to the fabric. You can easily findan inexpensive commercial pressing cloth made of mesh to enable you to see through to what you are ironing. Some people just use a small towel, but professionals, like tailor Alex Hamka in Detroit, often recommend old shirting fabric or pocket liner cloth for the best results. To get a large enough piece, you’d need to buy a pocket liner from a fabric store, but you can readily recycle your defunct shirts into pressing cloths for free.
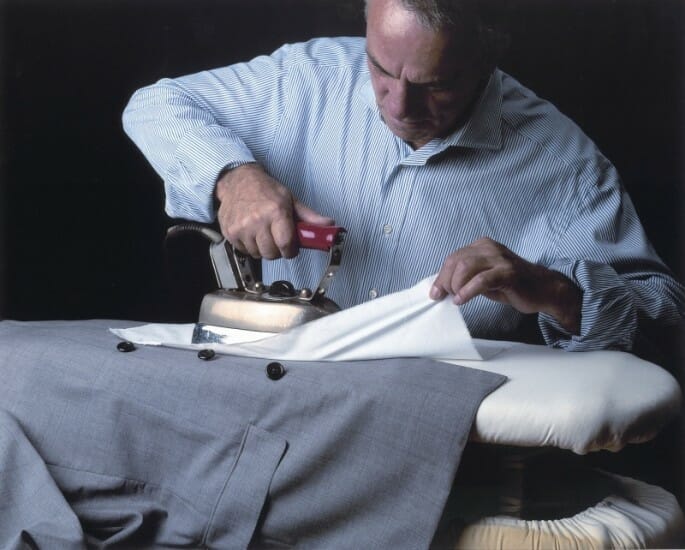
Using press cloth
5. A Sleeve Board
If you frequent tailor shops, you’ve likely encountered what looks like a mini tabletop ironing-board. This is a sleeve board, and as the name implies, it’s the perfect size for pressing shirt and jacket sleeves. However, you will see professional pressers using it to do much more, such as ironing pants legs and doing concentrated work on smaller areas like waistbands and shirt collars since it raises the work up closer to your view.
It’s not a necessity but worth a try as an added convenience. A basic sleeve board can be purchased for $10 on Amazon, while a tailor-quality one will run you over $40.
Sven Raphael Schneider of Gentleman’s Gazette highly recommends this sleeve board.

A spacious ironing board with attached sleeve board
6. A Presser’s Ham
Also known as a tailor’s ham, this is a cushion shaped, as the name suggests, like a baked ham. A ham is similar to a sleeve board in its use though with less firmness and more shaping power. Its purpose is to serve as a curved ironing surface for areas of clothing that aren’t meant to sit entirely flat when worn, like the rise of a pair of trousers or the upper chest of a jacket. Its shape more closely reflects the curves of the human form than an ironing board and thus enables pressed clothes to conform better to the body when worn. At $10-$15 on Amazon, it’s worth having one for the versatility it provides, especially if you are keen on details. You can also substitute a similarly shaped cushion if you already have one with a smooth surface.
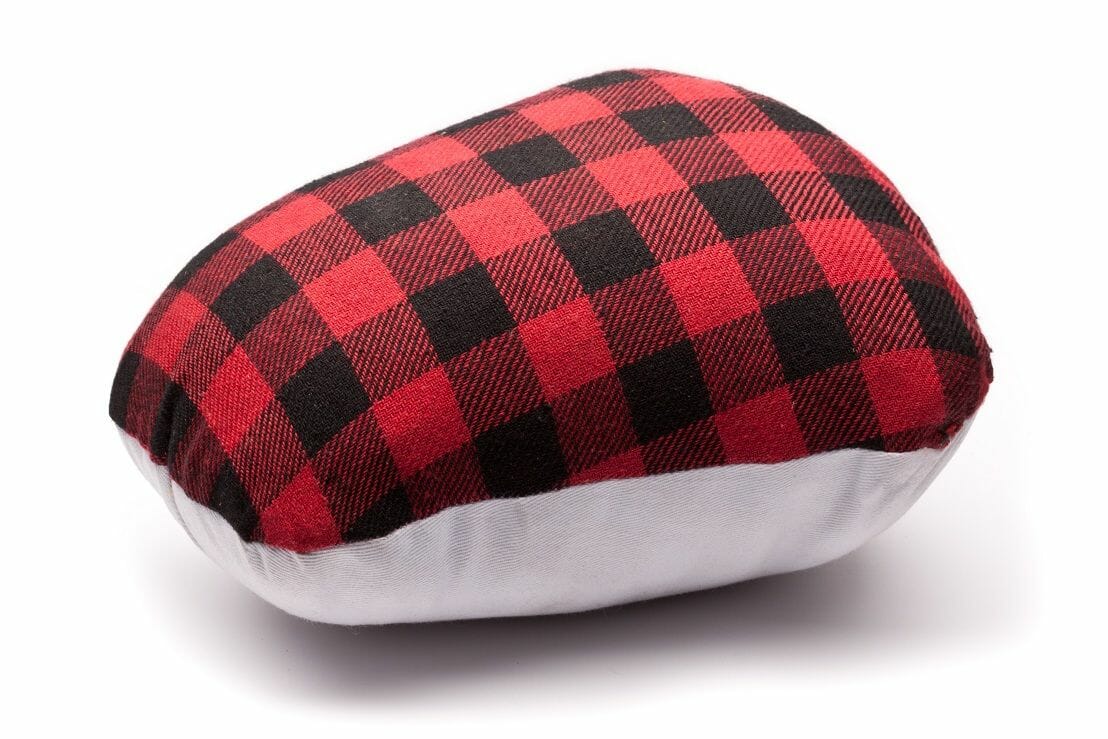
Tailor’s ham
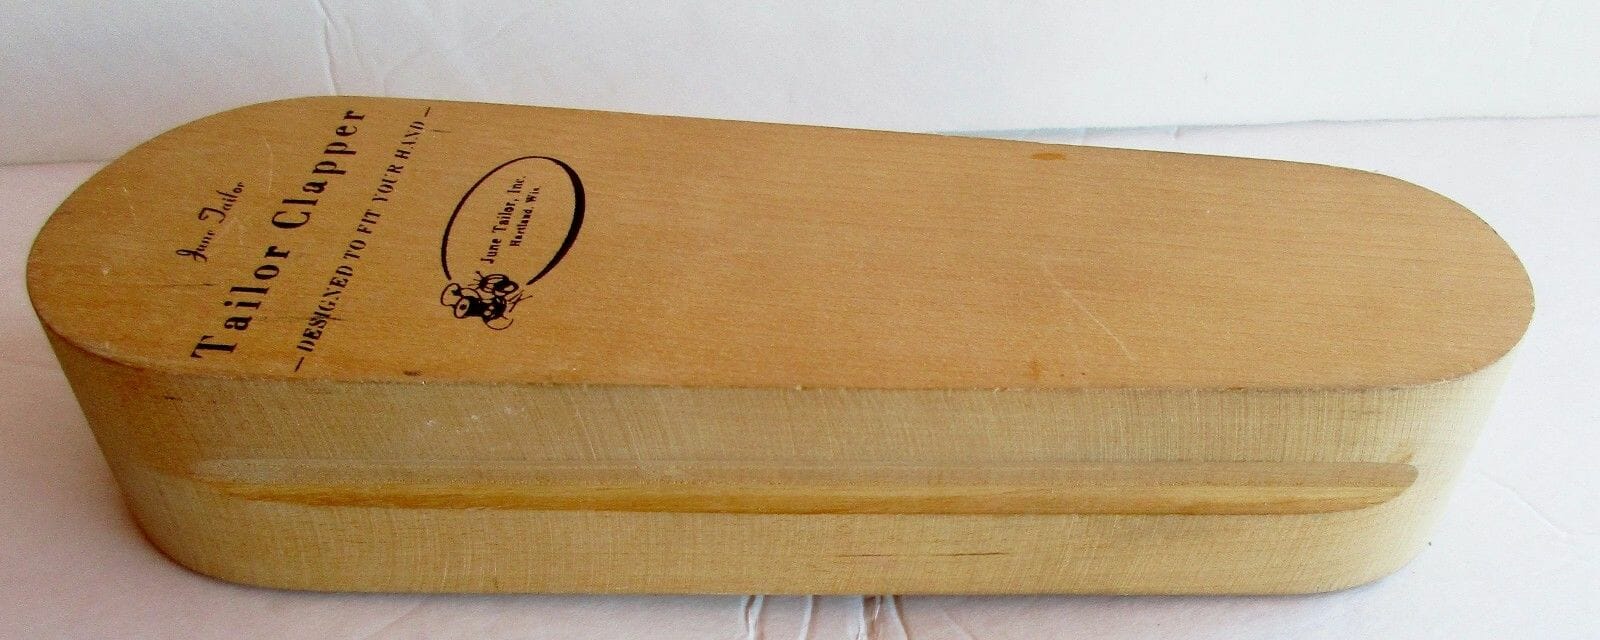
7. A Tailor’s Clapper or Point Press
A clapper is essentially a block of wood, usually similar in shape and size to the bottom of a broom, minus the bristles. It’s used primarily to finish the crease on the front of dress pants. Immediately after pressing in the trouser crease, you either apply the weight of the clapper onto the crease or bang it down for more dramatic effect. A clapper isn’t strictly needed but those who use it, including the pros, praise the amazingly crisp results it gives. You can find a wooden tailor’s clapper on Amazon for around $25, or make your own with any block of wood as long as it has a completely smooth finish, to avoid catching on fabric.
8. A Steam Press
Steam presses, such as those made by Singer ($250), tend to be popular with people who want to get wrinkles out as quickly as possible and are willing to sacrifice precision. They can do a nice job of pressing a crease into your trouser legs–if you line up the seams properly. They can also flatten broad areas, like the front of a shirt, but they don’t do as well with details like waistbands and collars. They can’t press a sleeve without risking an unwanted crease and certainly shouldn’t be used on a suit jacket. For the true attention to detail required by tailored clothing you still need the precision of a hand iron. Therefore, a press is not recommended unless you don’t mind owning a specialized $250 piece of equipment just for pants legs. Better to invest the cash in a vacuum ironing board.

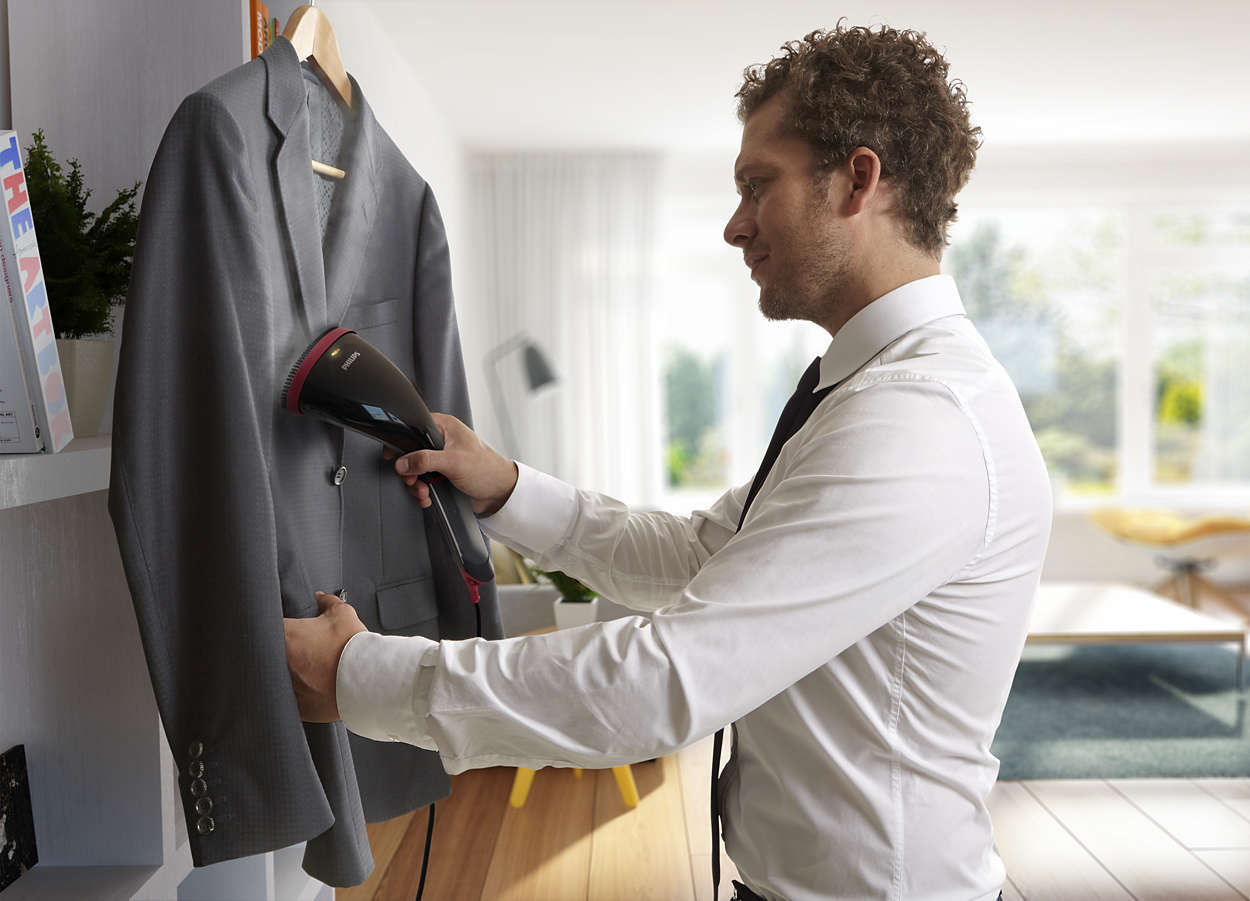
9. A Clothes Steamer
A handheld steamer for clothes ($60 on Amazon) is somewhat more useful than a pants press though its role can also be fulfilled by other options. The main benefit of a steamer is that it releases wrinkles from suit jackets and sport coats without contacting the fabric. You just hang the clothes and apply the steam from a few inches away. However, this can also be done by puffing out steam from a standard iron if you don’t mind holding the button down a bit more or simply by hanging suits overnight in the bathroom after a hot shower. Therefore a steamer should only be a secondary purchase, especially if you can also use it on curtains.
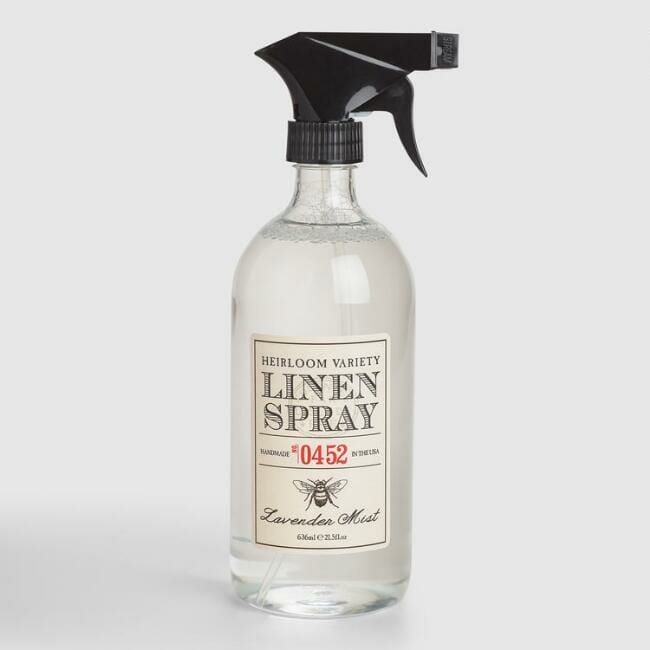
10. Linen Sprays
Naturally scented sprays, like lavender water, are a nice touch to add extra deodorizing when ironing. Because they do contain essential oil, it’s best to spray them lightly on the inside of clothing rather than on the outer surface to prevent any chance of staining. As a finishing touch, I spray mine on the Bemberg lining of jackets, especially in the underarm area, followed by a burst of steam.
Not on the List: Spray Starch
Conspicuous by its absence from this list is spray starch. You’ll find a lot of debate online over whether starching a shirt trades a crisp look for a shorter garment life, but that isn’t the motive for excluding spray starch from our ironing requirement. The reason is that a light spray with a supermarket brand will have minimal effect. Those who like stiff shirts need instead to immerse them in a liquid starch solution after washing, which is the traditional method employed by laundries.
Preparing to Iron: Rethink the Concept
Once you have the proper gear, you are ready to make basic preparations for successful ironing. Similar to taping off window frames and moldings before painting a room, preliminary steps are important.
In our fast-paced, over-scheduled age, people too often prefer to do things with haste and indifference. That’s why so-called “wrinkle-resistant” and “non-iron” clothes are popular. But these are either made of cheap synthetic materials or are coated with chemicals that give them an unusual sheen until the treatment inevitably washes out. So, if you choose quality clothes made of natural fibers, you’ll need to iron, and, the fact is, ironing is a process; it should be done with care and deliberation, not last minute before running off to work. However, it doesn’t have to be the chore it is made out to be.
Psychologically, it’s worth looking at ironing in a positive light. You might plan for it to be a weekend ritual, some quiet time set aside when you can think and de-stress by yourself while you multitask by refreshing your garments. Or, you can put on some music you enjoy. Ironing time will be an opportunity to relax without feeling like you aren’t doing something productive. Not surprisingly, the Japanese are known for ironing competitions and skilled ironing, as it reflects their culture’s attention to deliberative, ritualized practice like the tea ceremony, bonsai cultivation or ikebana flower arrangement.
How to Iron a Dress Shirt
Of the three major garments worn for tailored clothing, a dress shirt is the easiest to iron and the best one to begin with when learning how to iron correctly. Preparations actually begin in the laundry room. Though you would never throw a suit into the washing machine, cotton dress shirts will obviously find their way into the wash, and how you handle them when they come out can help with effective ironing. To preserve the life of your shirts and eliminate any risk of shrinkage, using a dryer is not recommended at all, but whether you use or skip the dryer, promptly removing your shirts from either machine, smoothing them out, and hanging them are important steps to avoid over-wrinkling. You don’t want to let your shirts sit crumpled in the washer or dryer for any length of time. Then, iron your shirts when they are still damp or slightly wet, which enables you to shape the cloth better than ironing something that is fully dry.
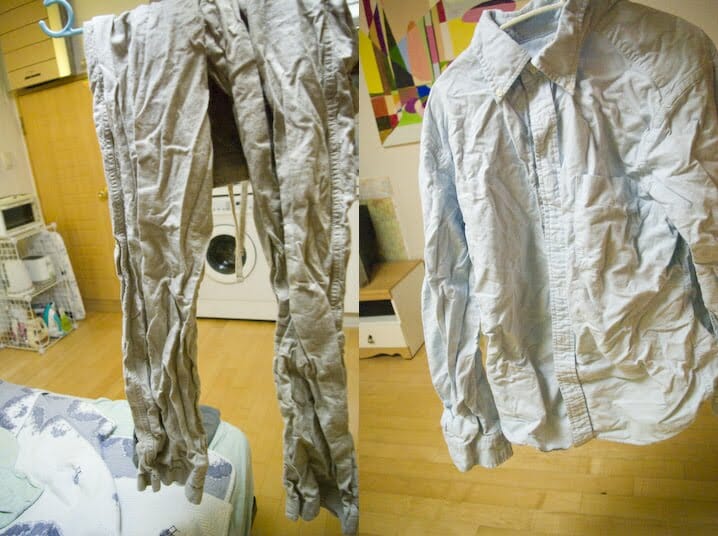
Clothes wrinkle more if not taken out of the washer or dryer promptly.
1. Lay out Your Equipment
When your shirts are ready for ironing, prepare your board and other equipment, such as a sleeve board, tailor’s ham, and spray bottle. Turn the ironing board with the pointed end to the left if you’re right-handed and to the right, if you’re a lefty.
2. Make Sure Everything is Clean
Check over your shirts closely to make sure there are no recent stains or spots. If you iron these, the heat will set them in and make them difficult to remove. Instead, ensure all stains are taken out beforehand.
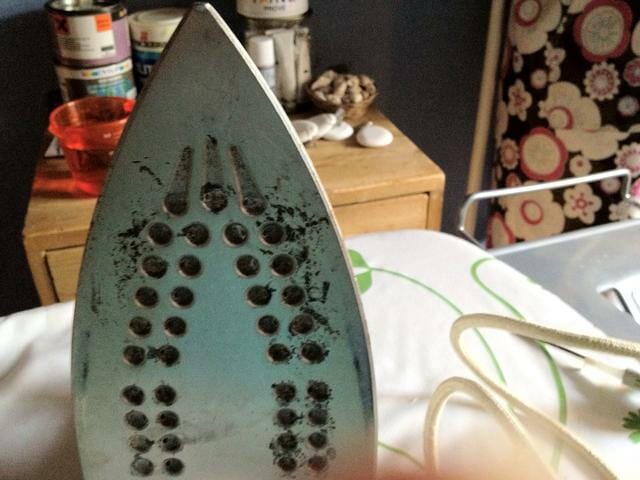
It’s also important to make sure the sole plate or underside of your iron is clean. Hopefully, you haven’t allowed your iron to get filthy, but if something has burned onto the bottom of the iron in the past, what’s stuck there will almost certainly spread onto your clothes if you use it in an unclean state. Put some detergent on the iron and let it sit, using a scouring pad if needed to get it clean.
3. Add Water
Unless you have a water softener, fill your iron’s reservoir with distilled water. In many places, tap water is “hard,” meaning it’s rich in minerals that will eventually precipitate calcium and magnesium scale inside your iron when the water in it evaporates. Scale can clog up the holes and prevent any steam from coming out of your iron. And, if you do get steam, whitish solids will come out with it onto your clothes. Usually, you’d be able to sweep the particles away with your hand, but they are a nuisance. Better to invest a dollar for a jug of distilled water when you iron.
4. Set the Proper Temperature
Set the proper temperature on the iron for cotton. Don’t start ironing immediately, however. Give the iron some time to reach the proper temperature. Ironing prematurely can cause water to sputter and spit from the underside of the iron onto your clothes; any rust inside the iron also has a tendency to spill out if the iron is put in the horizontal position too soon. You don’t want this to happen on a white shirt that is waiting to be pressed.
5. Press the Cuffs and Sleeves
Begin by laying a sleeve on the board. If you have a sleeve board, now is the time to use it. Open the cuff button and lay it flat; press it, first the inside and then the outside. Then press the length of the sleeve.
A key to success with all ironing is not to make broad sweeping motions with the iron but to apply short, controlled movements, applying consistent pressure to the cloth. Moving your arm like you’re conducting an orchestra or swinging a mug of beer to a German drinking song will pinch the fabric, adding new creases. Remember, ironing is also called “pressing” and putting weight on the material as you do it is essential for good results.
If you don’t want a crease down the middle of your bicep and elbow, avoid pressing the edges of the sleeve down against the board. Instead, concentrate on the middle of the sleeve. Repeat with the other arm.
6. Press the Collar
Next, pop the collar and check that you’ve removed collar stays, especially plastic ones that might melt; press the inside flat. Fold it back to the normal position and press the outside. If you want a soft roll, don’t press down to the points, just the portion that will sit behind your neck.
7. Finish with the Body
You’ll find that the pointed part of the ironing board is perfect for curved areas like the shoulder and upper chest of shirts and jackets. So, with either the top button of your shirt closed or not, align the top area of your shirt with the narrow part of the board and press the shoulder and chest on one side of your shirt. Spray the shirt with water and apply steam liberally to make the fabric supple. Then, either iron the other front half or rotate the shirt to work your way around the back. Look for any wrinkles and press those out. No matter what you iron, spreading the fabric out on the board or actively smoothing it with your hands is essential. As you press, keep pulling and moving the shirt as needed to keep it flat. Concentrate on small areas and avoid putting weight on the tip of the iron; if you drive the iron forward, the point will act like the cow-catcher on a steam train, but instead of catching livestock, it will cause ripples and creases in the fabric. The only time you need to apply force to the tip is when pressing between the buttons of your shirt. Conclude by ironing there and down the placket.
Conclusion
Once you develop the proper mindset for ironing and get the basic equipment, you’ll find that ironing shirts is straightforward. You’ll quickly get the hang of making your shirts look sharp within minutes, and, before you know it, you can graduate to the slightly more challenging task of pressing pants. Meanwhile, give us your own tips for ironing shirts. What ironing gear do you own? Tell us in the comments below.
The Complete Guide to Ironing: Part I, How to Iron a Shirt published first on https://medium.com/@CostumeCorner
